


Guide: How to Record Your Flying Lessons Safely
9 November 2023 | Updated on November 24, 2024
Are you looking to take your flying skills to the next level? One effective way to achieve this is by recording your flying lessons. Not only will this allow you to review your flights and identify areas for improvement, but it can also serve as a valuable resource for future reference.
However, it’s important to ensure that you record your flying lessons safely. In this section, we will provide you with step-by-step instructions on how to do just that. By following these guidelines, you can enhance your piloting skills by re-watching your flights.

Key Takeaways
- Recording your flying lessons can help you improve your piloting skills.
- It’s important to record your lessons safely to prevent accidents.
- Follow our step-by-step instructions to safely record your flying lessons.
- Reviewing your recorded flights can help you identify areas for improvement.
- Recording your lessons can also serve as a valuable resource for future reference.
Why Record Your Flying Lessons?
Recording your flying lessons can serve as an invaluable tool to enhance your piloting skills. Not only does it allow you to review your performance and identify areas for improvement, but it also helps to build your confidence as a pilot.
By rewatching your lessons, you can gain a better understanding of the techniques and maneuvers you were taught, and apply them more effectively in future flights. It also provides an opportunity to relive the excitement and enjoyment of your flight.
Furthermore, recording your lessons can be useful for reference purposes. You can use your recordings to refresh your memory on specific techniques or maneuvers, or to prepare for upcoming flights.
Testimonial:
“Recording my flying lessons has been a game-changer for me. I’m able to see my mistakes and correct them, which has improved my confidence and skill as a pilot. It’s also great to have something to look back on and relive the experience of flying.”
Overall, recording your flying lessons can significantly contribute to your growth as a pilot. It provides a way to track your progress, learn from your mistakes, and enjoy the thrill of flying. So, grab your recording device and start capturing your experiences in the air!

Choosing the Right Recording Equipment
When it comes to selecting a recording device for your flying lessons, there are several factors to consider. The ideal device should be compact, lightweight, and capable of producing high-quality footage. Some popular options include:
| Device | Pros | Cons |
|---|---|---|
| GoPro | Small and easy to mount; wide-angle lens captures more footage; excellent video quality. | Expensive; not all models have a built-in screen for playback; short battery life. |
| Digital Camcorder | Great image stabilization; long battery life; LCD screen for playback; good audio quality. | Bulkier than other options; limited mounting options; can be expensive. |
| Smartphone | Portable and convenient; good video quality; wide range of mounting options; built-in playback. | Not designed for rigorous physical activity; limited battery life; may require additional accessories. |
Ultimately, the recording device you choose will depend on your personal preferences and budget. Consider factors such as image stabilization, battery life, and mounting options before making a decision.
Setting Up Your Recording Device
Now that you’ve chosen your recording device, it’s time to set it up properly before your lessons. By doing so, you can ensure that your footage is of the highest quality and accurately captures your flight.
Charge Your Device
Firstly, make sure your recording device is fully charged before heading to the airfield. This will ensure that you have enough battery life to record your entire lesson without any interruptions. If your device has removable batteries, make sure to bring spares or a charger to keep them powered up.


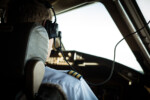
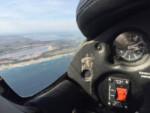
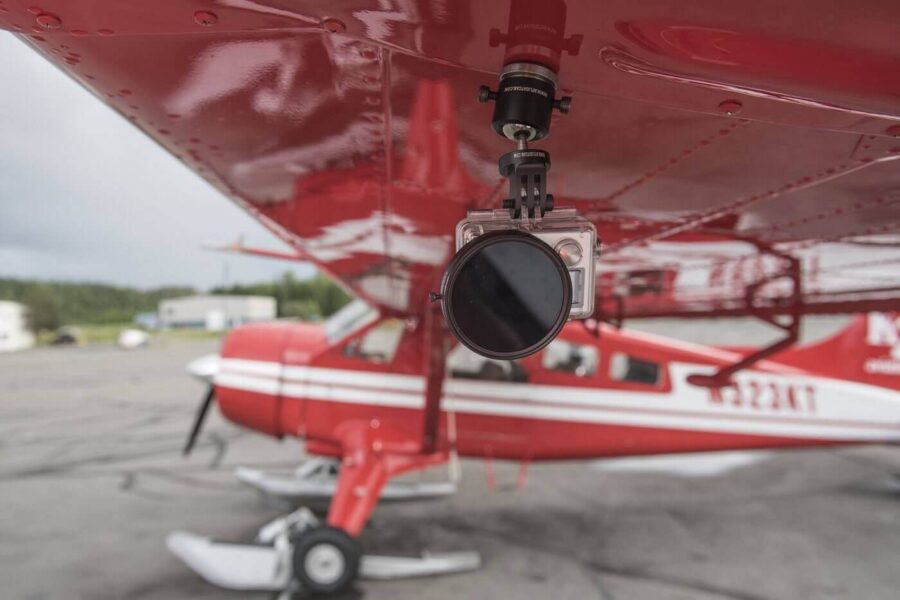
Choose the Right Mounting Location
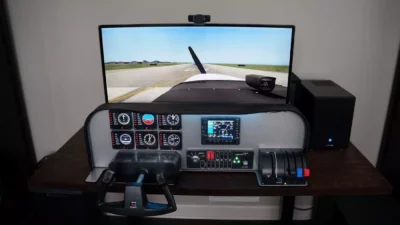
The positioning of your recording device or camera is crucial to capturing high-quality footage. It’s important to choose a mounting location that offers a clear view of the flight controls and outside scenery. The cockpit dashboard or wing strut are popular mounting options.
Note: Different aircraft and recording devices may require specific mounting accessories. Make sure to research and purchase any necessary equipment before your lesson.
Tip: Learn more about cameras and mounting options here

Secure Your Device
Once you’ve chosen your mounting location, make sure to secure your recording device properly. The last thing you want is for your device to come loose during flight and risk damaging the equipment or injuring others.
Tip: To ensure a secure hold, use a mounting bracket with a locking mechanism or strong adhesive tape. Check the device’s stability before takeoff and adjust if necessary.
Double-Check Your Camera Settings
Before taking off, double-check your camera settings to ensure that you are recording at the optimal resolution and frame rate for your device. This will also help you to conserve battery life and storage space during the flight.
Test Your Device
Finally, test your device before takeoff to make sure that it is capturing the footage as desired. Record a short clip and check the quality and framing. If necessary, adjust the camera angle or make any other necessary changes.
By following these steps to set up your recording device, you can ensure that you capture clear and detailed footage of your flying lessons. This will enable you to review and analyze your performance to enhance your piloting skills and progress as a pilot.
Recording Tips and Techniques
Recording your flying lessons can be an excellent way to improve your piloting skills and refine your technique. However, to get the most out of your footage, it’s important to employ the following tips and techniques.
Use Camera Settings Appropriately
Make sure you set your camera’s resolution, frame rate, and exposure settings according to the lighting conditions and the type of footage you want to capture. For example, if you’re flying during the day, use a lower ISO setting to reduce noise and capture more detail in bright areas.
Plan Your Shots Ahead of Time
Before your flight, create a shot list of the essential moments you want to capture, such as takeoff, landing, and any significant milestones during the flight. Having a plan in place will help you focus on capturing the right footage, rather than trying to capture everything.
Frame Your Shots Correctly
When framing your shots, be mindful of the rule of thirds, which states that the subject should be off-center to create a more visually appealing composition. Additionally, try to maintain a consistent distance between the camera and the subject to maintain a uniform look throughout your footage.
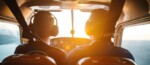
Capture Audio as Well as Video
Audio can be just as important as video in capturing the full experience of your flight. Make sure your recording device is set up to capture clear audio, and consider using a headset or external microphone to eliminate wind noise and other interference.
Here are some great options for headset recording adapters:

Buy now on Amazon

Experiment with Angles and Perspectives
Don’t be afraid to experiment with different angles and perspectives to create more dynamic footage. Try mounting the camera to different parts of the aircraft, such as the wing or tail, or use a drone to capture more aerial shots.
Edit Your Footage
Once you’ve captured your footage, take the time to edit it into a cohesive and engaging video. Use editing software to trim excess footage, add transitions and effects, and include titles or captions to highlight key moments. This will help you create a professional-looking final product that you can be proud of.
Storing and Organizing Your Recorded Lessons
Recording your flying lessons can be instrumental in enhancing your piloting skills, but organizing and storing your footage is just as important. In this section, we will discuss some tips on how to keep your recorded lessons well-organized and easily accessible.
Storage Options:
When it comes to storing your recorded footage, there are a few options to consider:
- Cloud Storage: Cloud services such as Dropbox or Google Drive are convenient options for storing your files. You can access your footage from anywhere and easily share it with others.
- External Hard Drive: An external hard drive is a reliable option for storing large files and keeping them safe. It’s recommended to choose a high-quality drive with sufficient storage capacity for your needs.
Whichever storage option you choose, make sure to regularly back up your files to ensure they are not lost in the event of a malfunction or damage to your device.
File Management Techniques:
Organizing your files is essential to keeping them easily accessible and avoiding confusion. Here are some file management techniques to consider:
- Naming Convention: Use a consistent naming convention for your files to make them easier to find. Consider including the date, location, and a brief description of the lesson.
- Folders: Organize your files into folders by date, location, or type of lesson to make it easier to locate specific footage.
- Metadata: Utilize metadata to tag your files with relevant information such as lesson type, aircraft model, or instructor name. This can make it easier to search for and find specific footage based on certain criteria.
By utilizing these file management techniques, you can ensure that your recorded lessons are well-organized and easily accessible when you need them.
Reviewing Your Footage:
Once you have your recorded footage stored and organized, it’s time to review it and analyze your performance. Consider watching your lessons with an instructor or experienced pilot to get feedback and insights on areas for improvement.
“The biggest benefit of recording your flying lessons is being able to go back and watch how you’ve progressed.”
Recording your lessons and reviewing your footage can be an invaluable tool in improving your piloting skills. By following these tips for storing and organizing your recorded lessons, you can ensure that your footage is easily accessible and ready for review when you need it.
Conclusion
Recording your flying lessons can be a game-changer for your piloting skills, providing a unique opportunity to rewatch and analyze your flights. By following the guidelines outlined in this guide, you can ensure a safe and high-quality recording of your lessons, which can serve as a valuable tool for improving your technique and mastering new skills.
FAQ
How can recording flying lessons enhance my piloting skills?
Recording your flying lessons allows you to rewatch your flights and analyze your performance. By reviewing the footage, you can identify areas for improvement, study your maneuvers, and gain valuable insights that can help you enhance your piloting skills.
Why should I record my flying lessons?
Recording your flying lessons offers several advantages. It allows you to review and analyze your flights, identify areas for improvement, and learn from your mistakes. Additionally, you can capture memorable moments and share them with others to showcase your progress as a pilot.
What type of recording equipment should I use for my flying lessons?
The choice of recording equipment depends on your needs and preferences. You may opt for a handheld camera, action camera, or even a smartphone with a high-quality camera. Consider factors such as resolution, stability, and ease of use when selecting the right recording device for your flying lessons.
How do I set up my recording device for flying lessons?
To set up your recording device, ensure it is securely mounted or positioned inside the aircraft. Make sure the camera is facing the desired direction and angle, and adjust any necessary settings such as resolution and frame rate. It’s crucial to follow any regulations or guidelines provided by your flight instructor or aviation authorities regarding recording devices in the cockpit.
What are some tips for recording flying lessons?
To capture the best footage of your flying lessons, consider the following tips and techniques:
- Use a high-resolution setting for optimal video quality.
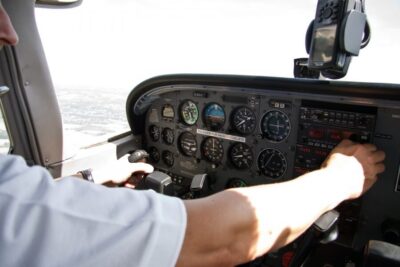
- Frame your shots to include essential elements such as the instrument panel, control inputs, and outside visuals.
- Prioritize stability by using a mount or stabilization feature.
- Capture crucial moments during the flight, including takeoff, landing, and maneuvers.
- Don’t forget to ensure your recording device has sufficient battery and memory capacity.
How should I store and organize my recorded flying lessons?
It’s important to have a system in place for storing and organizing your recorded lessons. Consider using external hard drives, cloud storage services, or dedicated software to manage your footage. Create folders or categories to sort your lessons by date, aircraft, or specific maneuvers. Regularly back up your files to prevent data loss.
What is the significance of recording flying lessons for skill enhancement?
Recording your flying lessons allows you to review, analyze, and learn from your flights. By identifying areas for improvement and studying your maneuvers, you can enhance your skills as a pilot. It provides an opportunity to reflect on your progress, celebrate achievements, and track your development over time.